Imagine stepping into your backyard to mow the lawn, only to find your Honda lawn mower sputtering and coughing. Frustrating, right?
You know that regular maintenance is key to keeping your mower in top shape. One of the simplest yet most vital tasks is changing the oil. It’s like giving your mower a fresh start, ensuring it runs smoothly and efficiently.
In this guide, we'll walk you through the easy steps to change the oil in your Honda lawn mower. Whether you're a seasoned gardener or a beginner, you'll find this process straightforward and rewarding. Plus, you'll save money and avoid the hassle of professional servicing. Ready to get your hands a little dirty and extend the life of your mower? Let's dive right in.
Credit: www.homedepot.com
Preparation
Changing the oil in your Honda lawn mower is a straightforward task that ensures your machine runs smoothly and efficiently. Proper preparation is key to a successful oil change, saving you time and preventing potential mishaps. Before diving into the process, let's focus on what you need to gather and how to keep yourself safe.
Gathering Tools And Materials
Start by assembling all the necessary tools and materials. You don't want to be halfway through the process only to realize you're missing something crucial. Here's a simple checklist to follow:
- An oil pan to catch the old oil
- Fresh oil compatible with your Honda mower (check your manual for specifications)
- A funnel for pouring the new oil
- A clean cloth or rag for wiping away spills
- An oil filter, if your model requires it
Having everything within reach minimizes interruptions and keeps the process smooth. It might be worth creating a dedicated space in your garage or shed where you can store these items for easy access.
Safety Precautions
Safety should be your top priority, especially when dealing with oil and machinery. Here are a few tips to ensure you're protected:
- Wear gloves to prevent oil from coming into contact with your skin.
- Ensure the mower is off and cool to avoid burns or accidental starts.
- Work in a well-ventilated area to prevent inhaling fumes.
- Dispose of old oil properly by taking it to a recycling center.
Consider this: have you ever accidentally spilled oil on your garage floor? It's not just a mess; it can also be a slip hazard. Taking these precautions can help prevent such accidents.
With preparation complete, you're now ready to change the oil with confidence, knowing you've set the stage for a smooth and efficient process. Remember, the better prepared you are, the easier and quicker this task will be. So, why not give it a try this weekend?

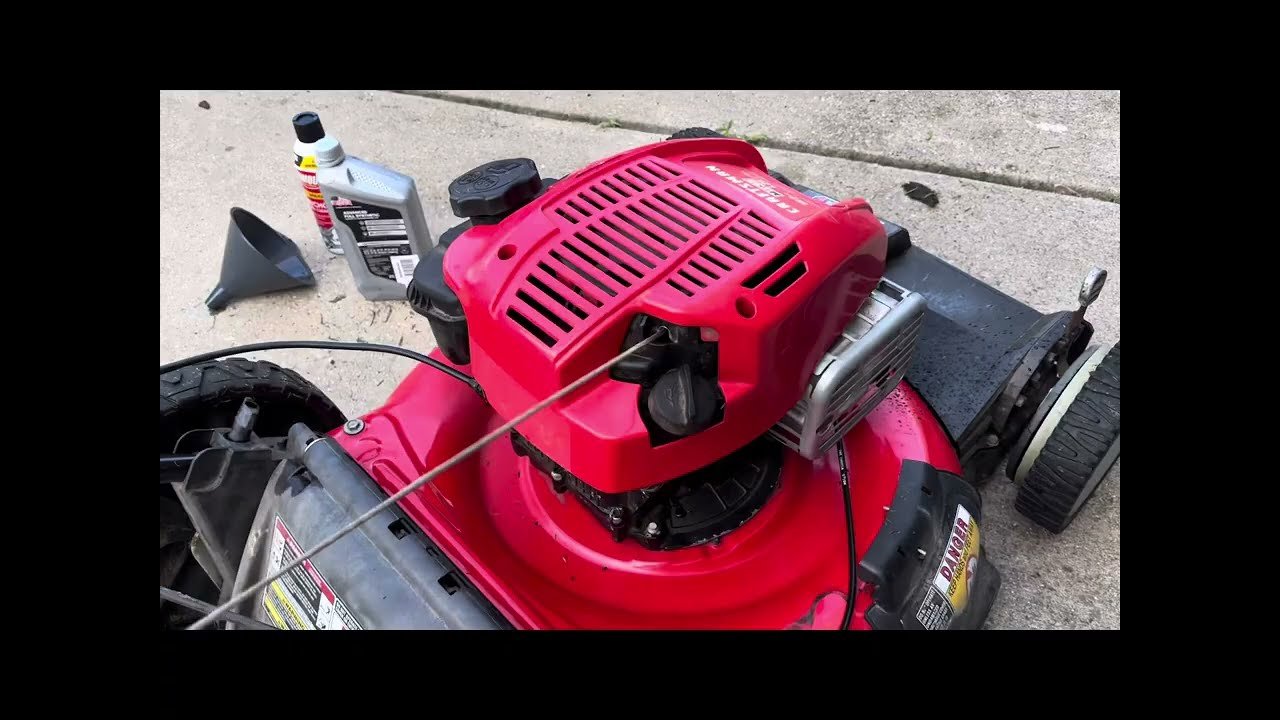
Credit: m.youtube.com
Locating The Oil Drain Plug
Finding the oil drain plug is crucial in changing the oil in a Honda lawn mower. Typically located underneath the mower deck, it allows for efficient oil draining. Ensure the mower is on a flat surface for easy access and safety.
Changing the oil in your Honda lawn mower is essential for maintaining its performance. Locating the oil drain plug is a crucial first step in this process. Properly identifying and accessing it ensures a smooth oil change. Follow these simple steps to find the oil drain plug and prepare your mower.
Identifying The Drain Plug
The oil drain plug is usually found under the mower deck. Look for a bolt or plug-like feature near the mower's base. It's often made of metal and may have a hexagonal shape. Check the owner's manual if unsure. This guide can help identify the exact location.
Positioning The Lawn Mower
Ensure the mower is on a flat surface. This prevents oil spills and ensures safety. Turn off the engine and let it cool. A hot engine can be dangerous. Consider using wheel chocks to prevent movement. Ensure you have enough space to work comfortably. Keep safety gear like gloves nearby for protection.
Draining Old Oil
Draining old oil is crucial for your Honda lawn mower's performance. Tilt the mower and use a pan to catch the oil. Ensure you dispose of the used oil responsibly to protect the environment.
Draining old oil from your Honda lawn mower ensures smooth operation. Regular oil changes prevent engine damage and prolong your mower's life. Follow these steps to efficiently drain the old oil.
Removing The Drain Plug
Locate the drain plug at the mower's base. Use a wrench to loosen it. Turn counterclockwise to remove it completely. Ensure the mower is on a flat surface. This prevents spills and ensures complete drainage.
Collecting The Used Oil
Place an oil pan under the mower. Let the oil drain completely into the pan. Allow a few minutes for all oil to escape. Dispose of the used oil responsibly at a recycling center. Never pour it down drains or on the ground.
Replacing Oil Filter
Replacing the oil filter in your Honda lawn mower is an essential step. First, ensure the mower is turned off and cooled down. Unscrew the old filter, then apply oil to the new filter's gasket. Install the new filter securely, ensuring no leaks.
Replacing the oil filter in your Honda lawn mower is essential. It ensures the engine runs smoothly. A clean filter prevents dirt from entering the engine, maintaining optimal performance. Let's dive into the steps for replacing the oil filter.
Removing The Old Filter
First, locate the oil filter. It's usually near the engine block. Use a wrench to loosen the filter. Turn it counterclockwise until it's free. Be careful; oil may spill during removal. Keep a cloth handy to wipe any excess oil. Next, inspect the area for any remaining debris or old gasket material. Clean it thoroughly. A clean surface ensures a tight seal with the new filter.
Installing The New Filter
Prepare the new oil filter. Apply a small amount of oil to the gasket. This helps it seal properly. Align the new filter with the threads. Turn it clockwise until snug. Avoid overtightening; it can damage the filter or threads. Finally, check for any leaks. Start the mower for a few minutes. Observe the filter area closely. If no leaks are present, your filter installation is complete.
Refilling With New Oil
Refilling with new oil keeps your Honda lawn mower running smoothly. Begin by draining old oil completely. Next, add fresh oil until it reaches the correct level, ensuring optimal performance for your mower.
Refilling the oil in your Honda lawn mower is a crucial step in maintaining its performance. Once you've successfully drained the old, grimy oil, it's time to breathe new life into your machine with fresh, clean oil. This process not only keeps your mower running smoothly but also extends its lifespan, saving you time and money in the long run. Let’s dive into the essential details of refilling with new oil.
Choosing The Right Oil
Choosing the correct oil for your Honda lawn mower is akin to selecting the right fuel for your car. You wouldn't want to use the wrong type and risk damaging your engine. Honda recommends using SAE 10W-30 oil for most climates, but always consult your owner's manual to be sure. Be mindful of the oil’s viscosity. It affects how well the oil performs at various temperatures. Selecting the right oil ensures your mower operates efficiently, even on the hottest summer days.
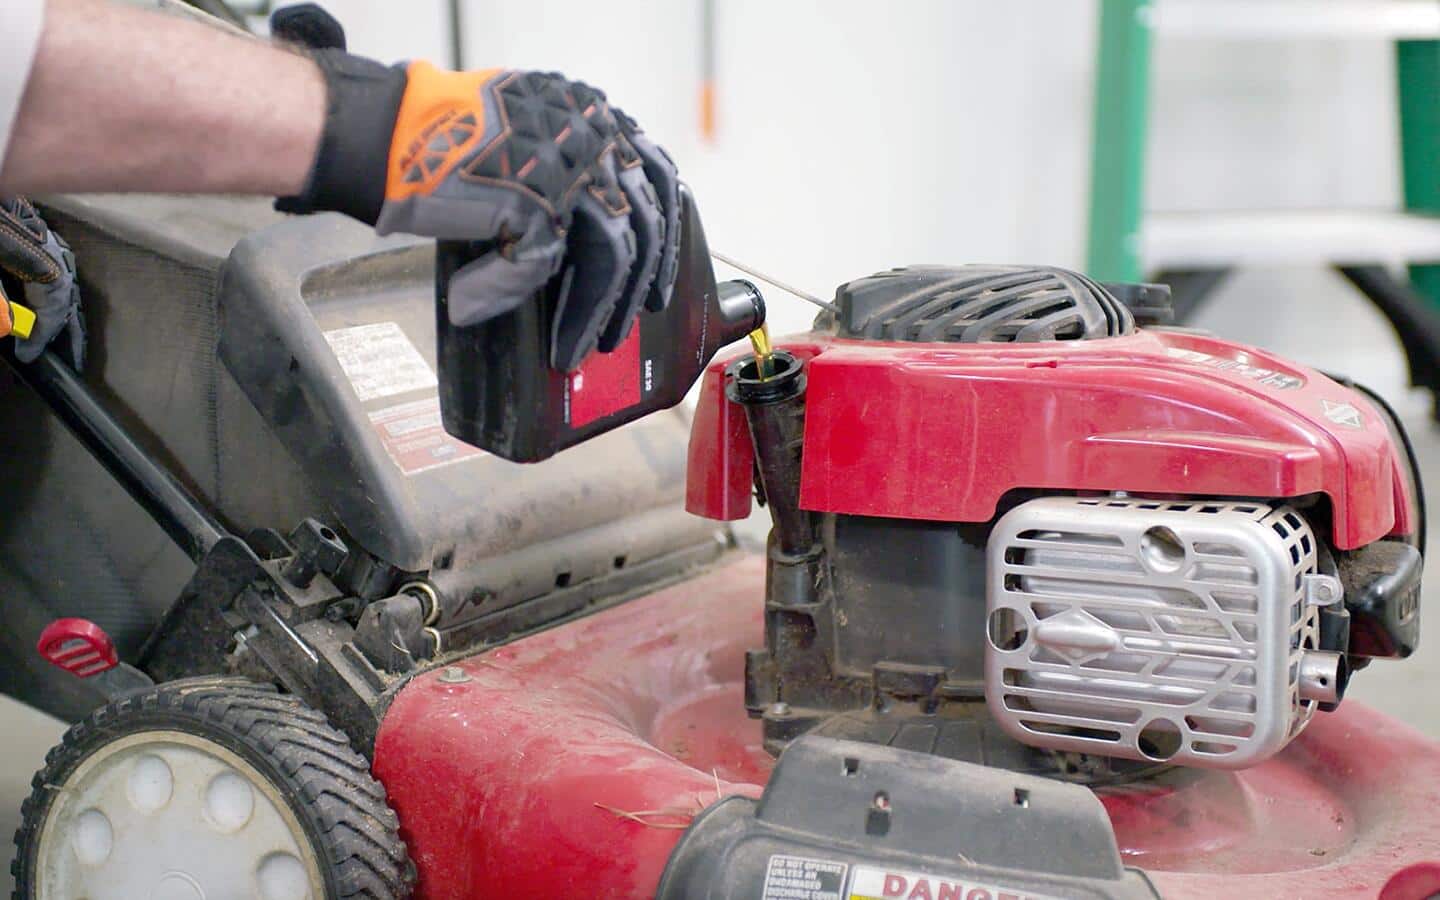
Pouring The New Oil
Pouring the new oil requires a steady hand and a bit of patience. First, make sure your mower is on a level surface to avoid any spills. Open the oil filler cap and use a funnel to guide the oil into the engine. Slowly pour the oil, checking the level with the dipstick frequently to avoid overfilling. Typically, a Honda lawn mower will take about 0.58 quarts, but again, double-check your manual for precise amounts. After filling, securely replace the filler cap and let the engine run for a few minutes. This allows the oil to circulate, ensuring every component is lubricated and ready for action. Refilling with new oil is a simple yet vital task. Do you remember the satisfaction of completing your first oil change? It’s not just about maintenance; it’s about mastering a skill that keeps your equipment in top shape.
Checking Oil Level
Checking the oil level in your Honda lawn mower is essential for its smooth operation. Regular checks prevent engine wear and ensure longevity. Performing this task is simple and quick. Let's look at the steps involved in checking the oil level.
Using The Dipstick
First, locate the dipstick on your mower's engine. Remove the dipstick and wipe it clean with a cloth. This ensures an accurate reading. Insert the dipstick back into the tube until fully seated. Pull it out again to check the oil level.
Observe the oil mark on the dipstick. It should be between the two marks indicating 'low' and 'full.' If the oil level is below the 'low' mark, you need to add more oil.
Adjusting Oil Quantity
If the oil level is low, add oil slowly into the engine. Use a funnel to avoid spills. Pour small amounts and check the level again using the dipstick. Repeat until the oil level is correct.
Avoid overfilling as this can damage the engine. Always use the recommended oil type for Honda mowers. Ensure the oil is clean and free from debris. Proper oil levels guarantee the mower runs efficiently.
Cleanup
Changing oil in a Honda lawn mower is simple and keeps the engine running smoothly. Begin by warming the engine for a few minutes. Drain the old oil using the drain plug, then refill with fresh oil to the recommended level. After refilling the oil, make sure to check the dipstick to ensure you have the correct level before starting the engine. It's also important to dispose of the old oil properly, following local regulations for hazardous waste. Following this oil change process for lawn mowers will not only extend the life of your equipment but also enhance its performance.
Cleaning up after changing the oil in your Honda lawn mower is an essential step that should not be overlooked. Not only does it ensure that your workspace is safe and clean, but it also promotes environmental responsibility. Proper cleanup can prevent oil spills and stains, making your maintenance routine more efficient and less messy.
Disposing Of Used Oil
You've just drained the old oil, and now you're wondering what to do with it. It's crucial to dispose of used oil properly to avoid environmental damage. Many auto parts stores and service stations accept used oil for recycling. Check with your local waste management authority for specific guidelines in your area. Never pour oil down the drain or onto the ground as it can contaminate water supplies. Use a sealed container to transport the oil safely.
Cleaning Tools And Area
Once you've disposed of the used oil, it's time to clean your tools and the surrounding area. Start by wiping down your tools with a rag to remove any oil residue. This not only prolongs the life of your tools but also ensures they're ready for your next project. For the workspace, use an absorbent material like kitty litter or sand to soak up any spilled oil. Sweep it up and dispose of it in accordance with your local waste disposal guidelines. A clean workspace prevents accidents and makes the task feel complete. Wouldn't you rather work in a tidy garage or shed the next time you're doing maintenance?
Maintenance Tips
Regular oil changes keep your Honda lawn mower running smoothly. First, disconnect the spark plug to ensure safety. Then, remove the oil cap and drain the old oil. Finally, refill with fresh oil, and securely replace the cap. Simple maintenance that extends your mower's life.
Maintaining your Honda lawn mower is essential for optimal performance. Regular oil changes are a crucial part of this process. This guide will help you understand when and how to change the oil. By following these tips, you can ensure your mower runs smoothly and lasts longer.
Regular Oil Change Schedule
Changing oil regularly is vital for your mower's health. Check the owner's manual for specific intervals. Typically, change the oil every 25 hours of use. If you mow frequently, plan for seasonal oil changes. Fresh oil keeps the engine parts lubricated. It prevents wear and tear. Always use the recommended oil type.
Signs Of Oil Problems
Oil issues can impact mower performance. Watch for these signs: dark or dirty oil indicates contamination. Low oil level can cause engine overheating. Listen for unusual engine noises. These might signal lubrication issues. Check for leaks around the engine area. Address these problems promptly to avoid damage. Regular checks help catch issues early.

Credit: www.youtube.com
Frequently Asked Questions
How To Drain Oil From A Honda Lawn Mower?
To drain oil from a Honda lawn mower, locate the oil drain plug beneath the deck. Place a container under the plug, remove it, and let the oil flow out. Replace the plug securely. Dispose of the old oil properly and refill with fresh oil to the recommended level.
How Much Oil Is In A Honda Lawn Mower?
A Honda lawn mower typically requires about 18 to 20 ounces of oil. Always check the owner's manual for precise specifications. Regularly check and maintain the oil level for optimal performance.
How Often Should I Change The Oil In My Honda Lawn Mower?
Change the oil in your Honda lawn mower every 25 hours of use or once a season. Regular oil changes ensure optimal performance and prolong engine life. Always check the owner's manual for specific guidance tailored to your model. Proper maintenance keeps your lawn mower running smoothly.
How To Drain A Honda Lawn Mower?
To drain a Honda lawn mower, first disconnect the spark plug for safety. Then, locate the oil drain plug underneath. Use a container to catch the old oil. Unscrew the plug and allow the oil to fully drain. Finally, replace the drain plug securely and refill with new oil.
Conclusion
Changing oil in a Honda lawn mower is simple. Regular maintenance boosts its lifespan. Keep tools ready. Follow safety tips. Dispose of old oil properly. Clean the mower after oil changes. Watch for signs of wear. These steps ensure smooth operation.
Your mower performs better with fresh oil. Enjoy a well-maintained machine. Save time and money on repairs. Feel confident in your lawn care skills. Your lawn looks great with less effort. Now, get ready to mow with ease. Happy mowing!